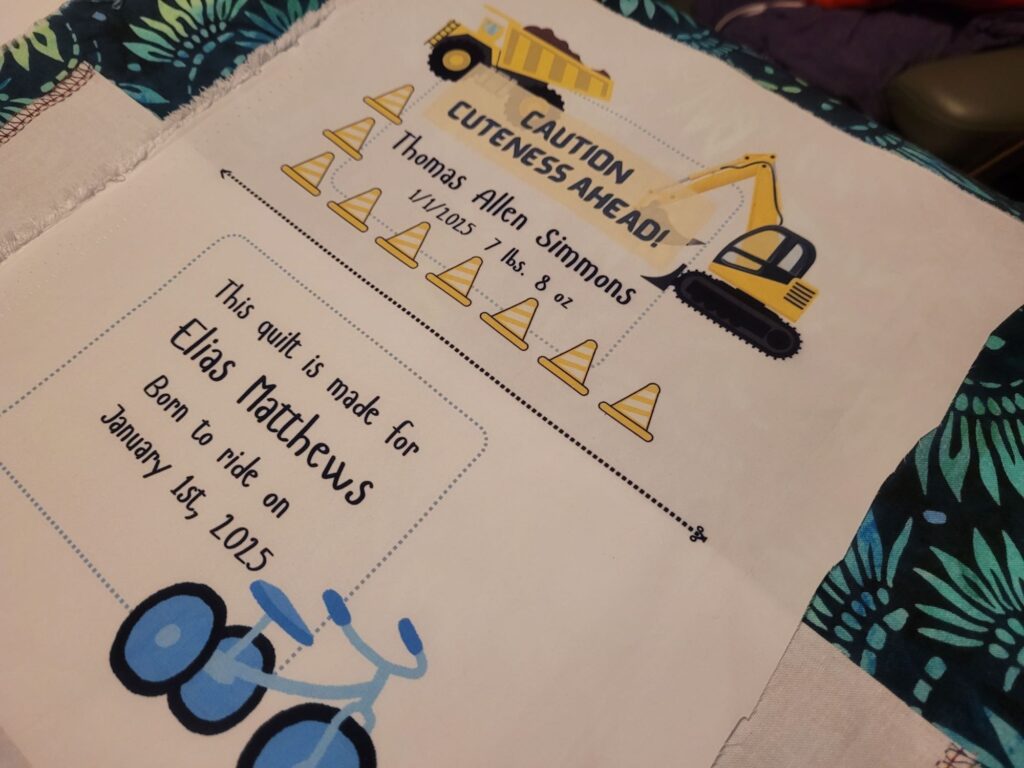
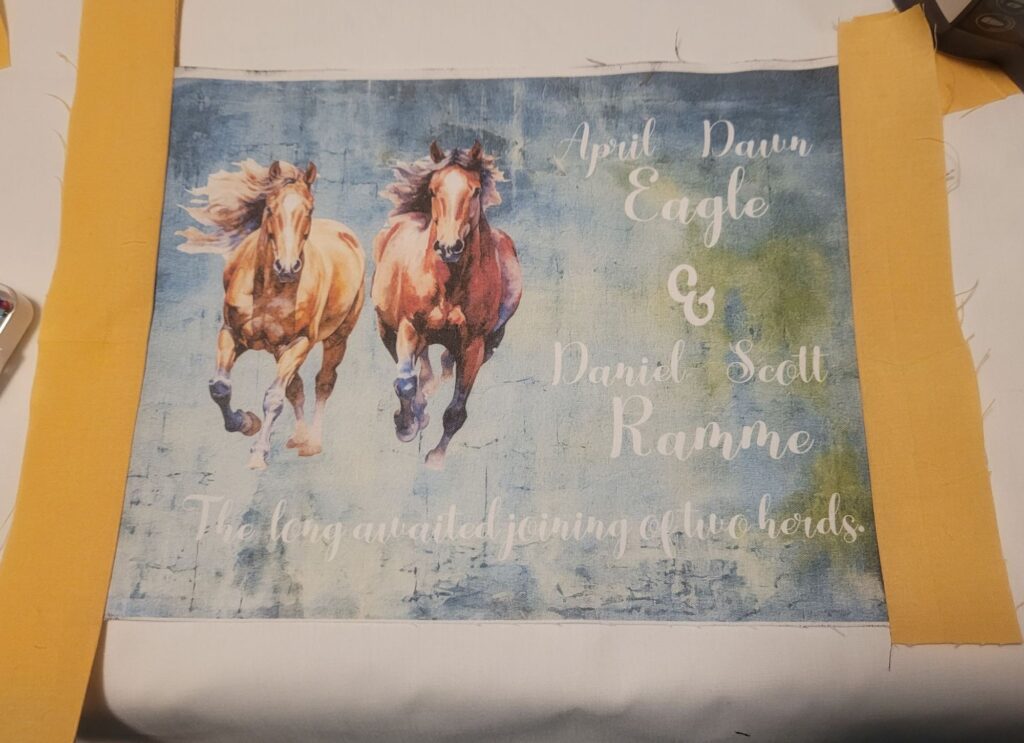
This is a SEW IN label.
Things to note-
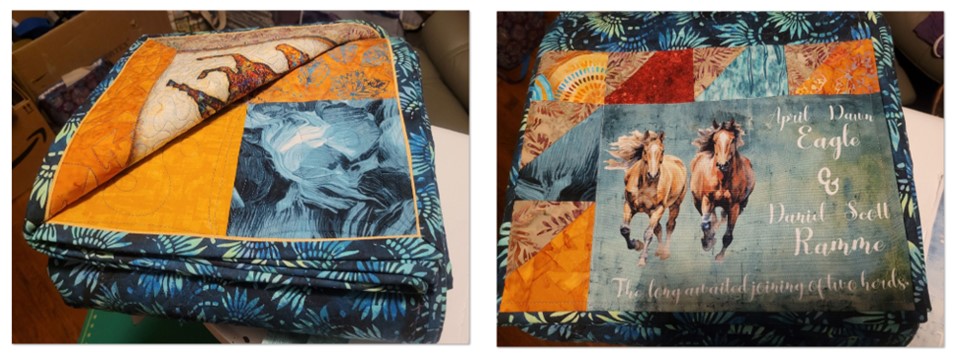
You can choose fabric from the quilt to bring the front and the back together or you can choose fabric from the quilt back to make the label blend in. If you want it to seem like it is floating, sew the backing fabric to all four sides of the label.
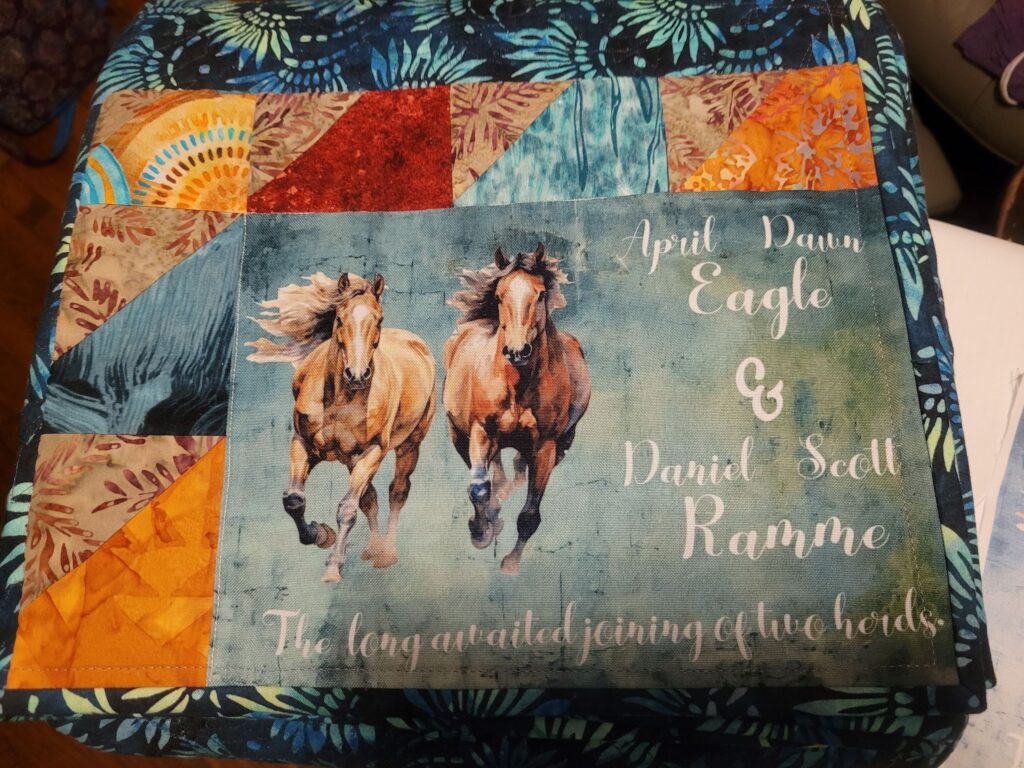
If I have any orphan blocks from the quilt, I like to use those on the side or the top, depending on the size of the block. I had a bunch of half square triangles left over for this quilt and used two on the side and four along the top. This brought in all the colors and the neutral fabric to the back of the quilt.
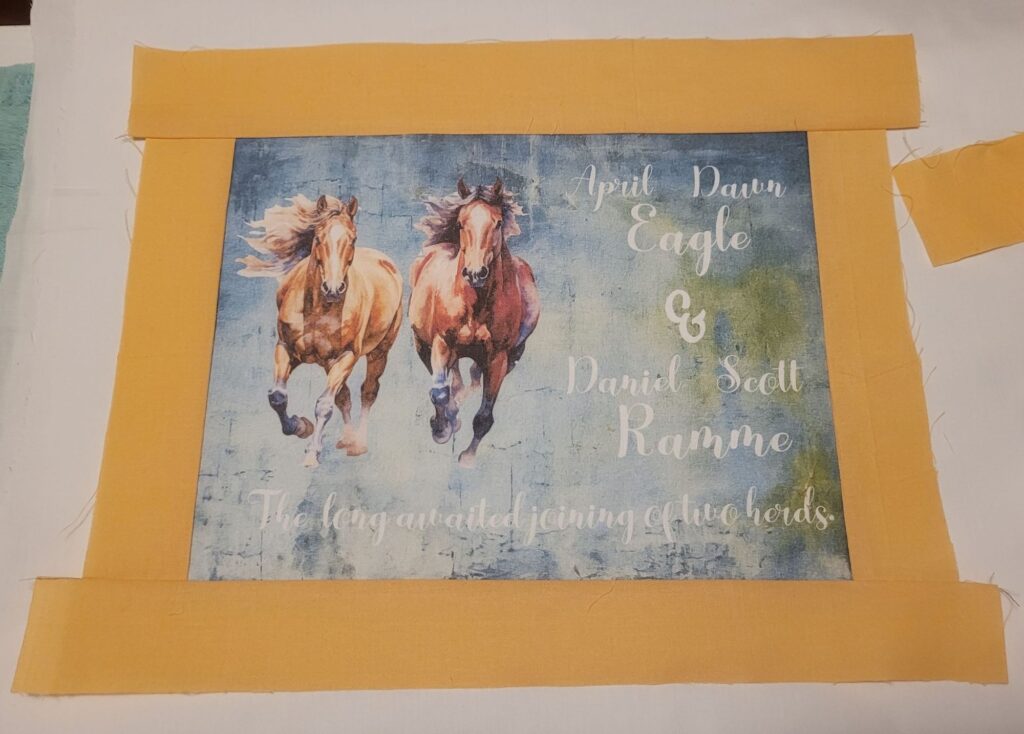
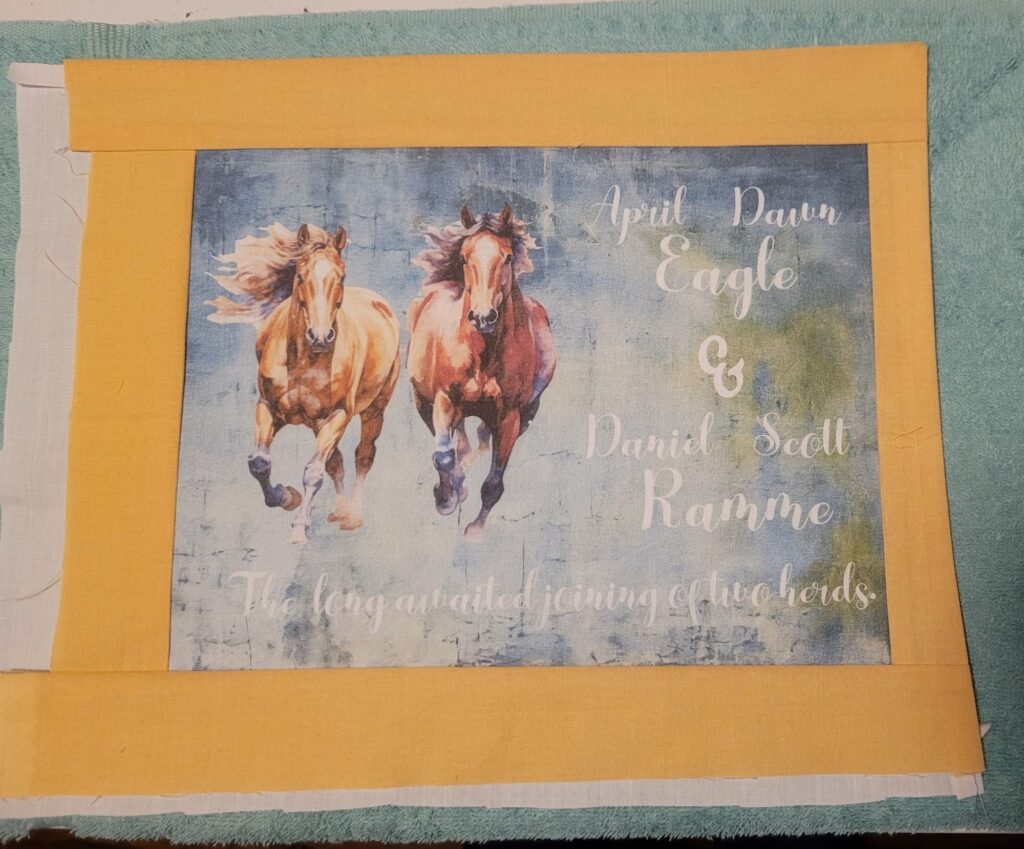
If the label is large, I sew on only the top and whatever side won’t be tucked into the binding. I make sure it is at least a 2″ wide strip. If the label is small, I sew fabric to all four sides of the label.
You will need the label, the extra fabric, and a piece of muslin or white/off white cotton fabric.
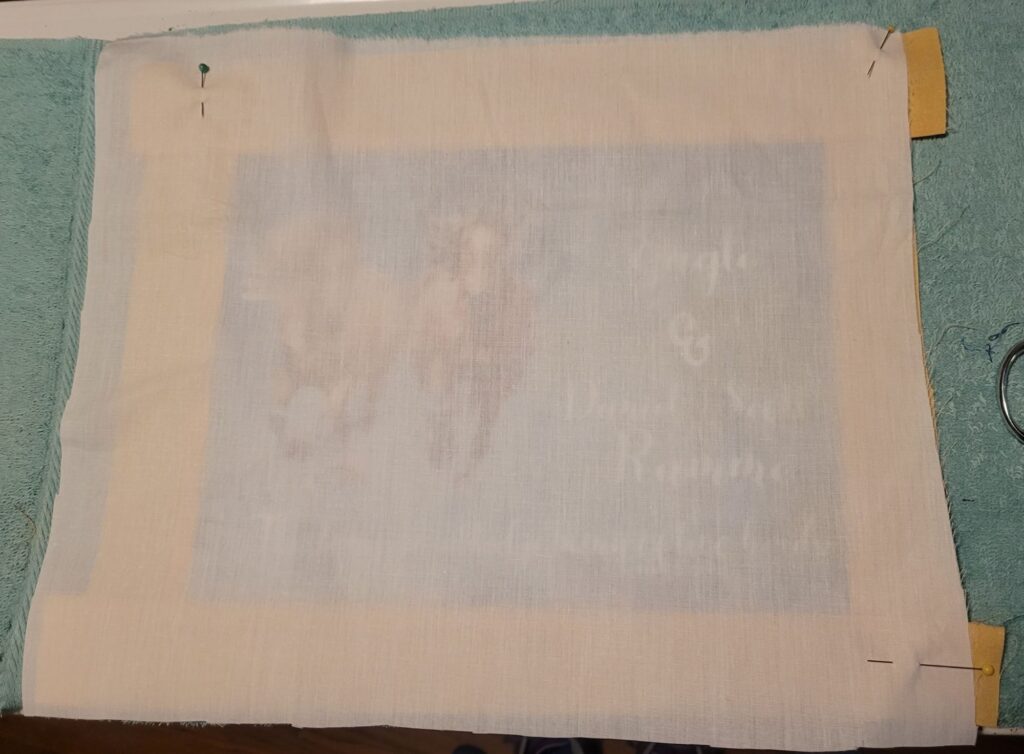
To get started, place the label and muslin over your backing fabric- can you see the backing fabric through both fabrics? Can you see any design element? If yes to either, cut an extra piece of muslin or other light colored fabric to the size of the label, place on the back of the label, and sew both as one when you sew on the sides.
Most labels are good with just the one backing for the whole label. But it is good to check as I have had a few labels and backing that still showed the elements.
I sew the side (s) of the label first and press to the fabric. If you use orphan blocks you might want to press to the label instead.
Sew the top side of the label and press to the cotton fabric.
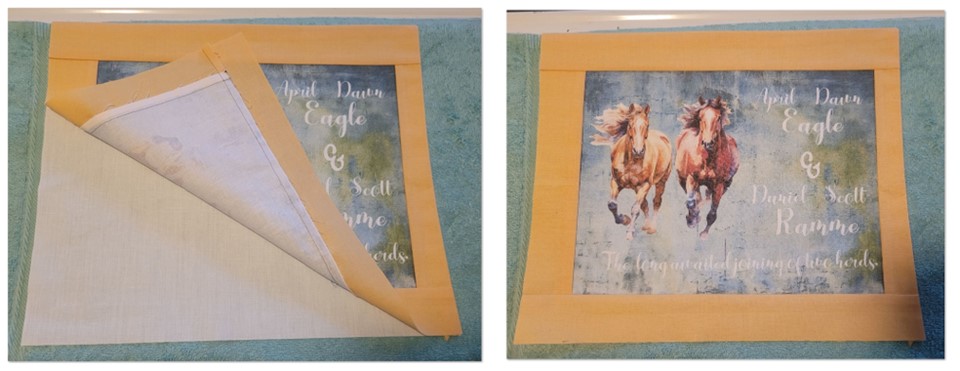
Cut the muslin or light colored fabric roughly to size and place them right sides together. sew across the top and whichever side will be placed into the binding.
Clip the corner to turn the fabric and make a point.
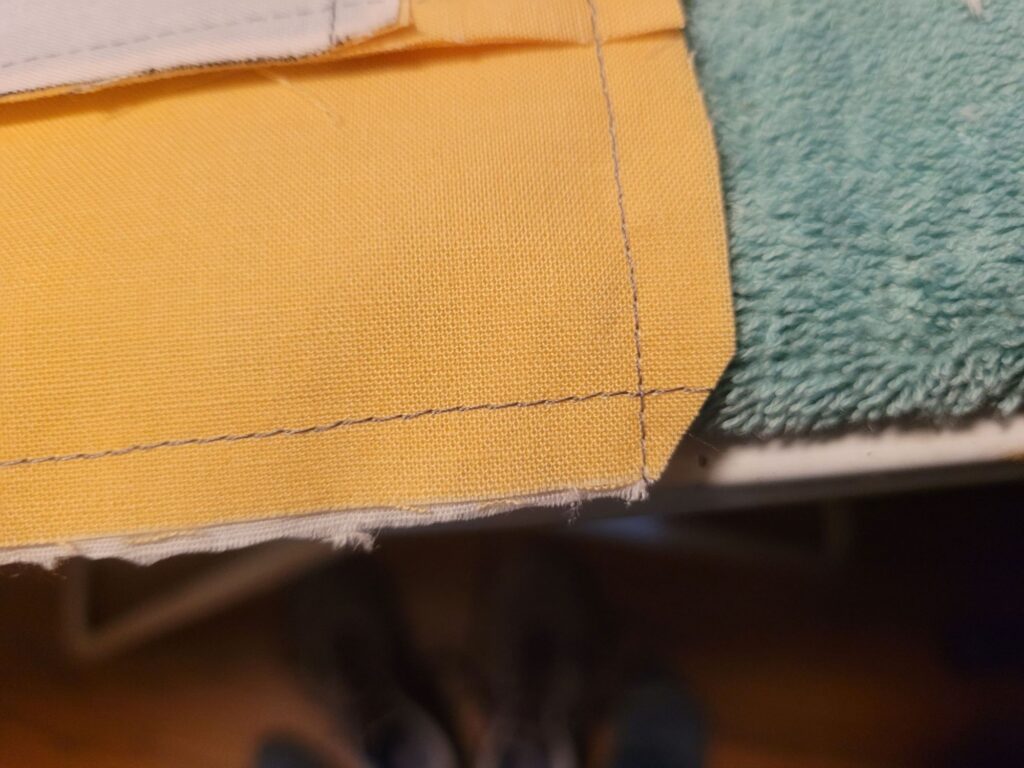
Press and turn the label RSO and press the sewn edges, making sure to press the back fabric under the seam.
Trim to size.
When I use a half or full page size label it can end up quite large. Even though there is no batting, the large expanse could move around in the label and the seams could eventually come undone. I pin the backing to the label on the unsewn edges so they won’t separate, a few pins along the middle, and sew stitch in the ditch around the label.
Binding
If I sew my binding on the back first, like when using a flange binding:
- I pin the label in place first with no wrinkles.
- I stay stitching along the label sides to hold it in place on three of the corners.
- I pin the loose corner with a safety pin so I don’t poke myself as I sew the binding on.
- I follow up with the binding so it will cover the raw edges of the label once turned and stitched down on the front.
- Lastly I hand stitch the label down on the two loose sides with a whipstitch or ladder stitch.
If I am sewing my binding on the front first:
- I sew the binding on first around the front of the quilt.
- The label is placed and pinned in the corner and with a safety pin the top inside corner to hole it steady. Believe me, you don’t want to undo the stitching to release a corner of the label (I’m sure you can figure out how I know this…)
- I staystitch the two raw edges down.
- Complete stitching down the binding, turning to the back and covering all the raw edges.
- Lastly I hand stitch the label down on the two loose sides with a whipstitch or ladder stitch.
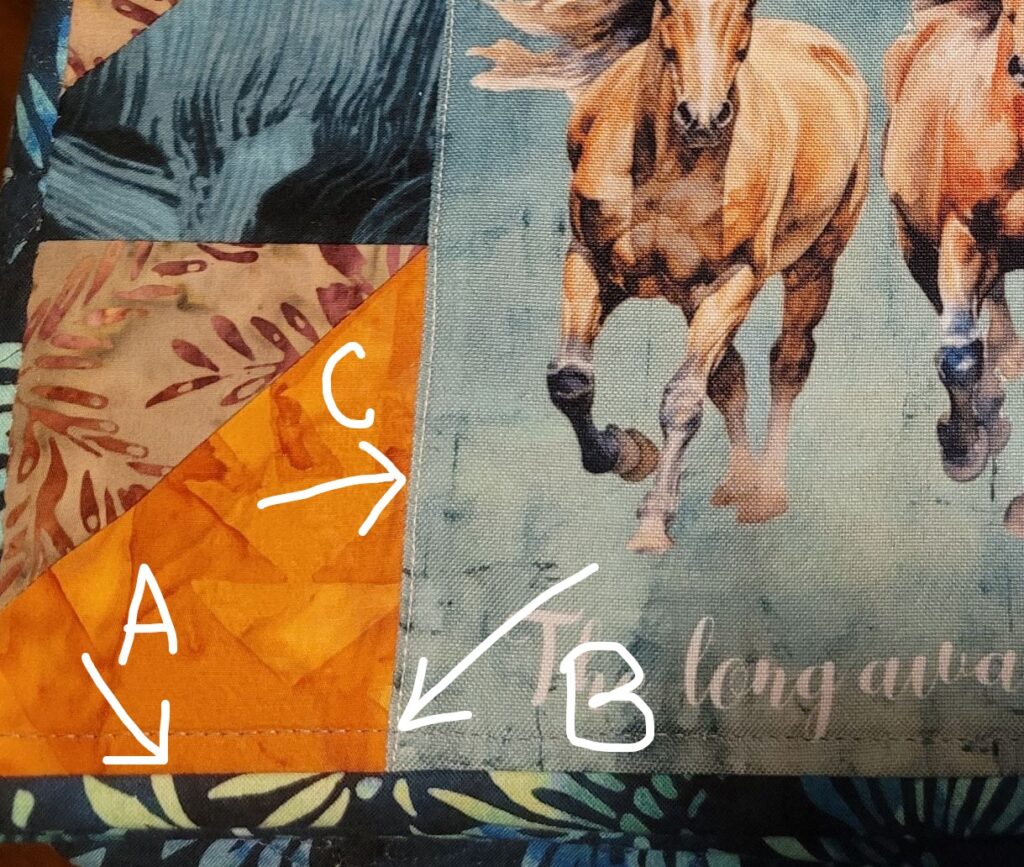
Here is a close up of label showing:
- A- binding done from the back for a flange binding,
- B- Stitch line for the binding on the front, and
- C- stitch in the ditch to hold the label in place.